In the world of cryptocurrency, one golden rule stands above all: not your keys, not your coins. Centralized exchanges and online wallets are convenient, but they leave your assets vulnerable to hacks, phishing scams, and custodial risks. That’s why more and more investors are turning to hardware wallets, with Trezor Wallet being one of the most trusted names in the industry.
If you’ve just purchased a Trezor device, the safest way to begin is by visiting trezor.io/start—the official setup portal from SatoshiLabs. Starting here ensures your device is genuine, your software is secure, and your crypto remains fully protected.
In this guide, we’ll cover everything you need to know about trezor.io/start, including how to set up your wallet, its main features, and best practices for maximum security.
The cryptocurrency industry is filled with fake apps and phishing websites designed to steal user funds. Trezor simplifies this by directing all new users to trezor.io/start, ensuring that:
This single starting point eliminates unnecessary risks during wallet setup.
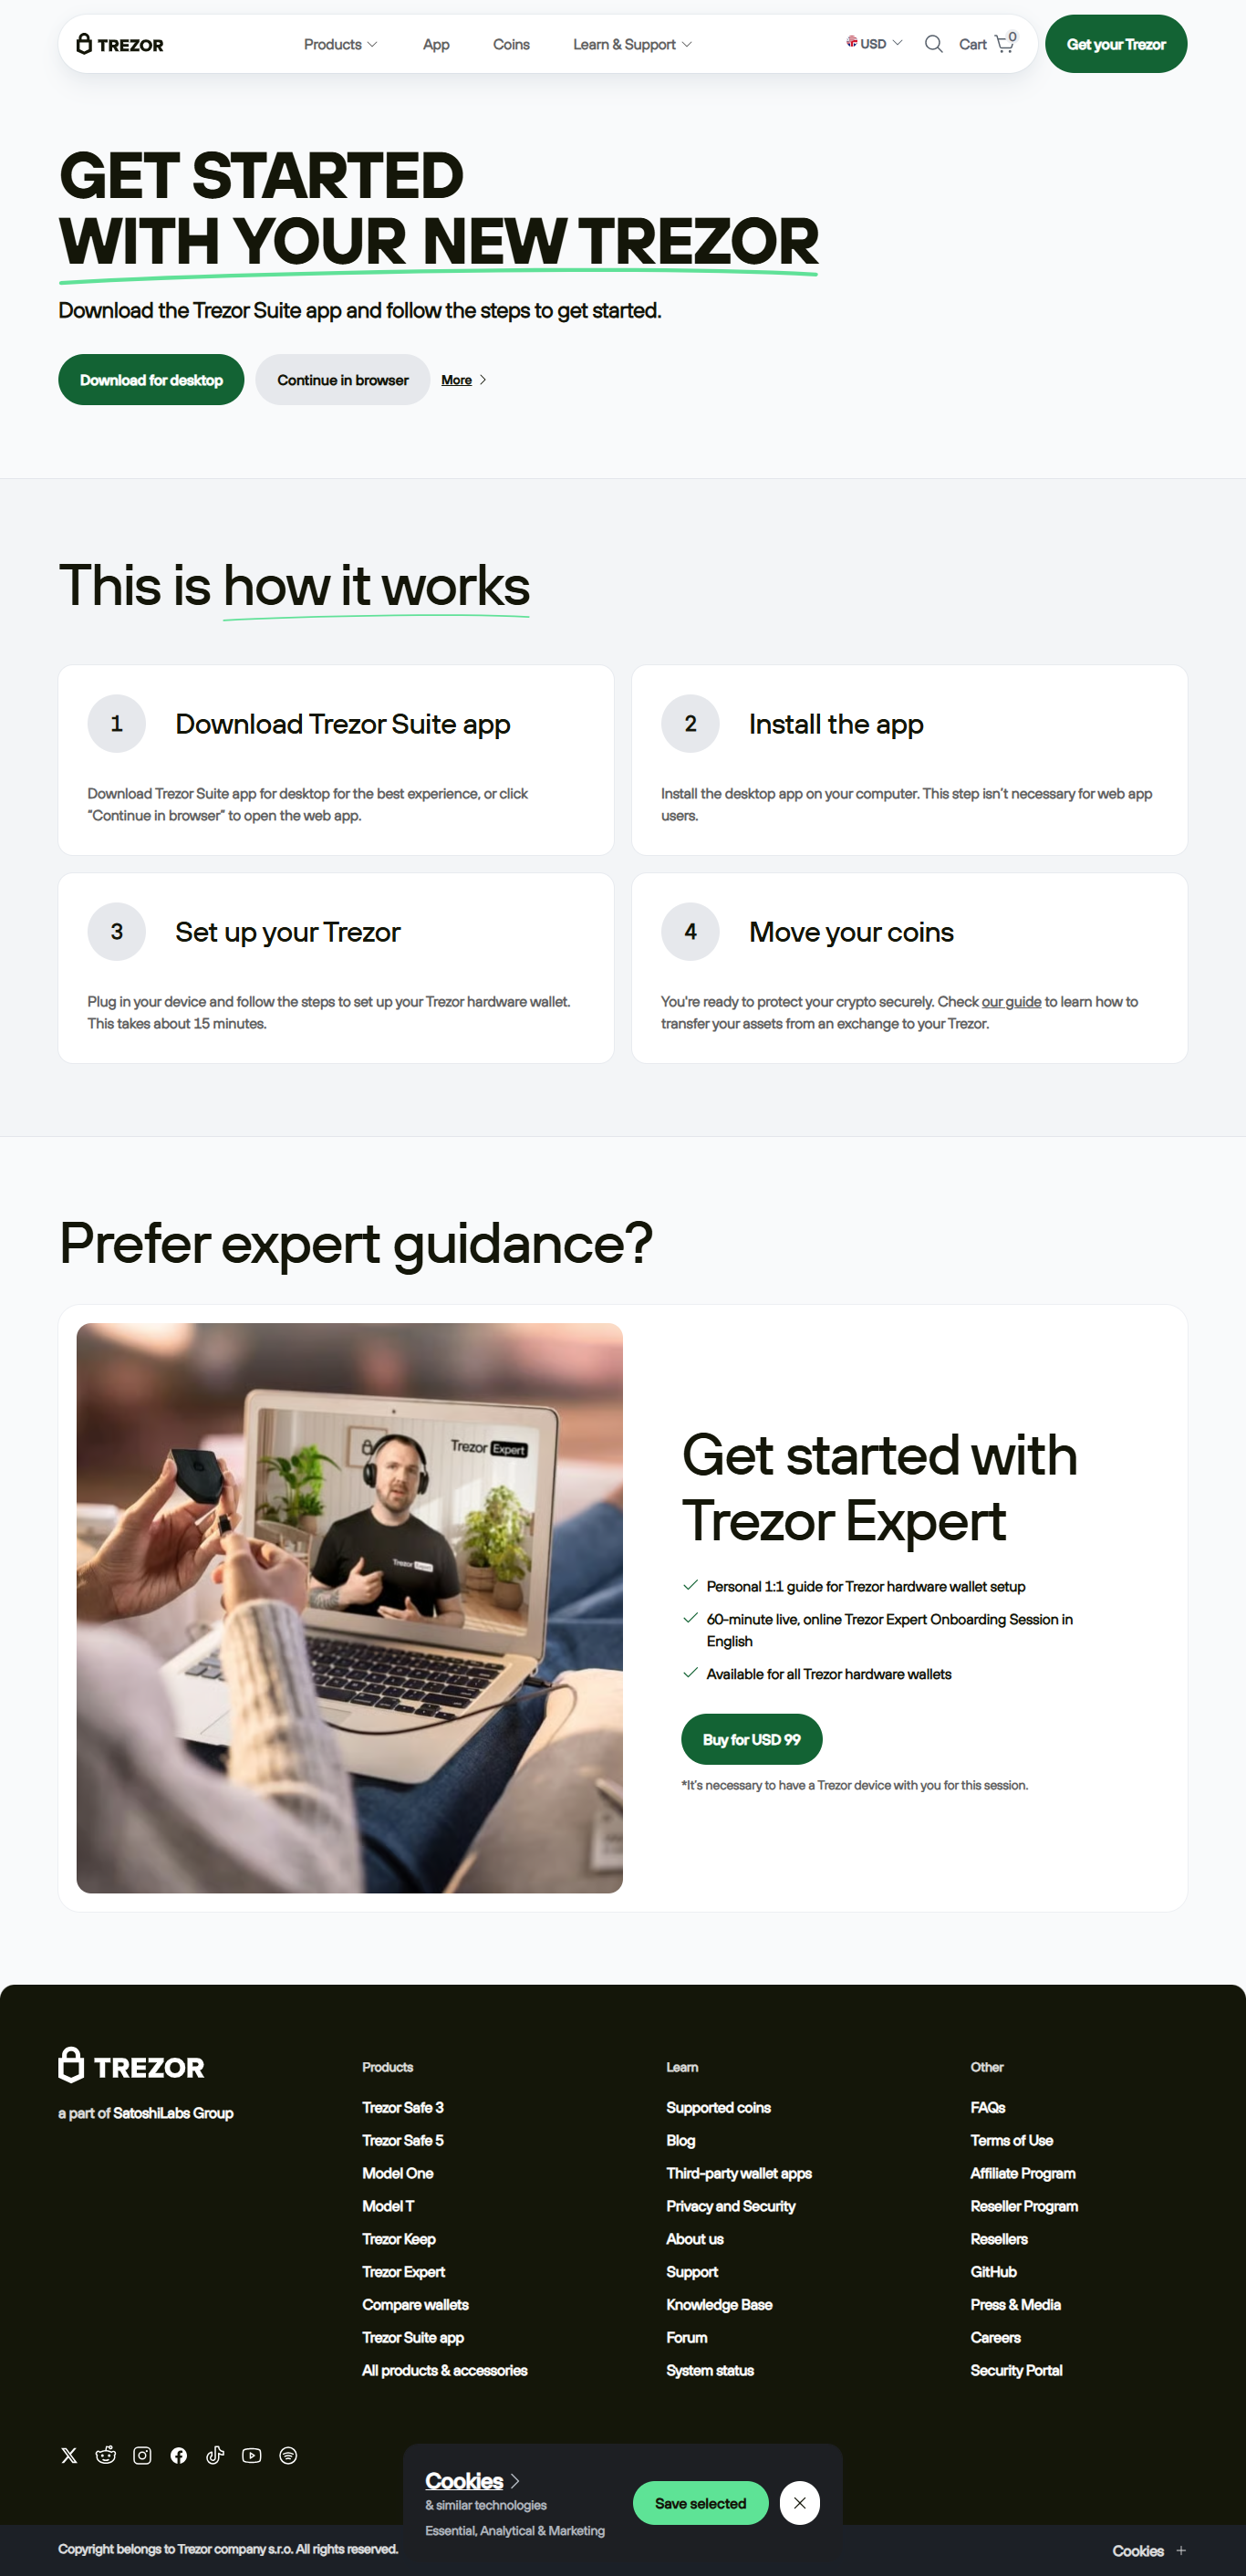
Setting up your Trezor is quick and beginner-friendly. Here’s the process:
Open your Trezor device and check that the holographic seal is intact. This ensures your wallet hasn’t been tampered with.
Use the provided USB cable to connect your Trezor Model One or Model T to your computer.
Manually type the URL into your browser to avoid phishing links. The page will guide you to download Trezor Suite, the official desktop application.
If your device is brand new, it will prompt you to install the latest firmware. Always do this before storing funds.
Choose a secure PIN code on your device. This is required each time you connect your wallet.
Trezor will generate a 12- to 24-word recovery seed. Write this down on paper and keep it offline. This seed is the only way to restore your funds if the device is lost or damaged.
Once setup is complete, you can add crypto accounts, send and receive transactions, and track your portfolio—all while keeping your keys offline.
By completing setup at trezor.io/start, you gain access to a powerful suite of features:
Even though Trezor wallets are highly secure, user practices are equally important. Follow these tips:
Unlike generic wallet apps, trezor.io/start ensures that everything comes directly from Trezor’s official website. Many phishing scams mimic wallet apps to trick users into entering their recovery seed. By starting only at Trezor’s official portal, you eliminate this risk completely.
In addition, Trezor wallets keep your private keys offline, unlike hot wallets or exchanges. This means even if your computer is infected with malware, your funds remain secure.
Trezor has been a pioneer in crypto security since 2014. Here’s why millions of users trust it:
Whether you’re holding Bitcoin, Ethereum, or a diverse portfolio of altcoins, Trezor ensures your digital wealth stays safe.
The first step to securing your cryptocurrency investment is setting up your wallet correctly. By starting at trezor.io/start, you ensure that your hardware wallet is genuine, your software is official, and your private keys are fully protected.